
No Electric, No Problem… running lights without hardwiring
This is a hack that I love to use on projects. Sometimes running electric is out of the scope of our project but we want what that electric brings… LIGHTING FIXTURES!!!
And yes, light. But, man those lighting fixtures- so. beautiful.
Click here for a “Jump to the Recipe” style rundownThe main reason I use this trick when we’re not running electric is for the dimension that a beautiful light fixture can add, but it does provide that bit of light that can fill out your “lighting profile” (we should have all 3 qualifiers for a well rounded light vibe- ambient, accent and task) … more on that to come ;)
I originally saw a blog post from Nesting With Grace on this probably 5+ years ago.
I first attempted it for myself, loved the results and started using it on projects. Everywhere I’ve used them has been a hit and it’s really a fun and easy addition!
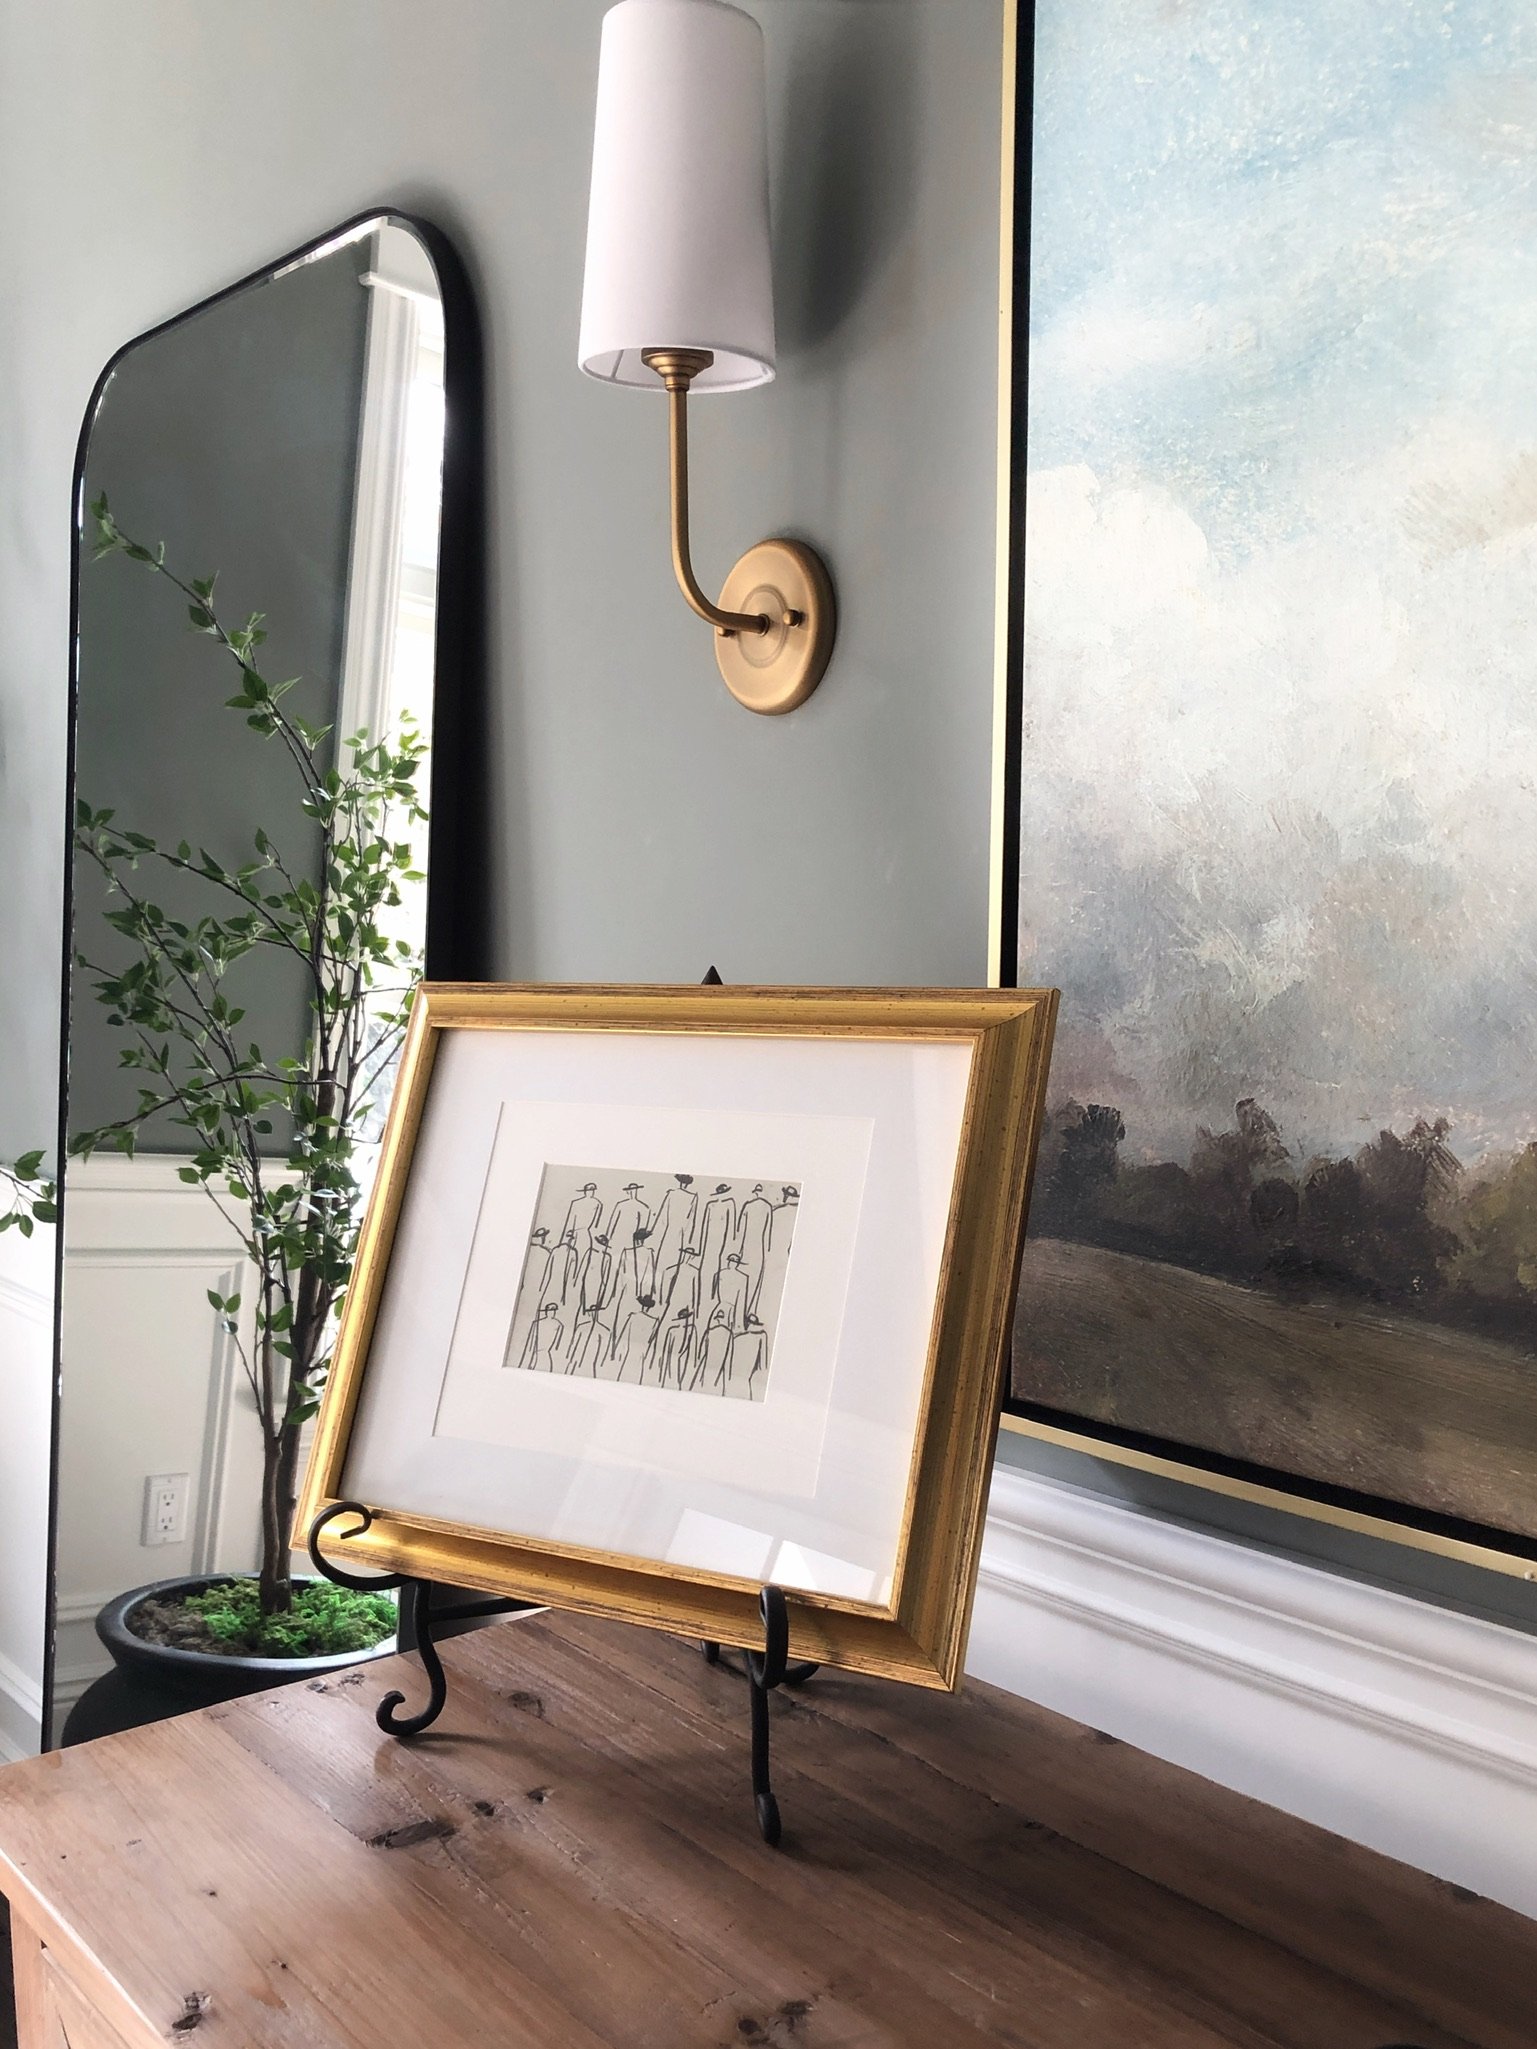
I mostly use it on sconces and wall lights, but I’ve also used them in overhead lights! It’s just a little more of a commitment because you have to get up there to take them out and charge them. In the instance I used them for it was to tie us over until electric was run.
The process is incredibly simple.
I start by finding the sconces that I like based on the style of the room we’re working in and the space that we have. There are so many fun options for wall lights, definitely check them out!
I use the hardware that the fixture comes with to adhere it to the wall. Sometimes you have to remove the grounding screw that’s on the back because it won’t allow the connection plate to sit flush with your wall. It’ll be obvious which one it is, and sometimes it’s labeled, but it’s just a little tiny screw that you can lefty loosey right outta there.
Attaching to the wall usually includes using an anchor so that the connection is really secure. Most of the lights I’ve used are very light so I really haven’t had to worry about the weight, but you do want them staying snugly right side up because there’s nothing worse than a crooked light/sconce.
Pro tip: it’s rarely recommended to use the hardware/anchors that come with the item you bought. Oftentimes, what’s found in those little hardware packs are cheap plastic anchors that twist or don’t even hang on tightly to your screw. I like keeping this style anchor on hand, they’re easy to use and super sturdy!

Get your magic bulb…
Once your fixture is adhered to the wall you can just screw the bulb right in. After a lot of research and a couple failed trials with other types, my go to light is: 👈 THIS ONE.
The cool part about these bulbs is that they are rechargeable! And they charge easily by screwing them into another corded or wired fixture. So just plug them into another lamp/vanity light before you’re ready for them- they’ll light up when charging and ready, and you’re good to go!
Here are a couple of my favorite places I’ve used this hack:
links on image
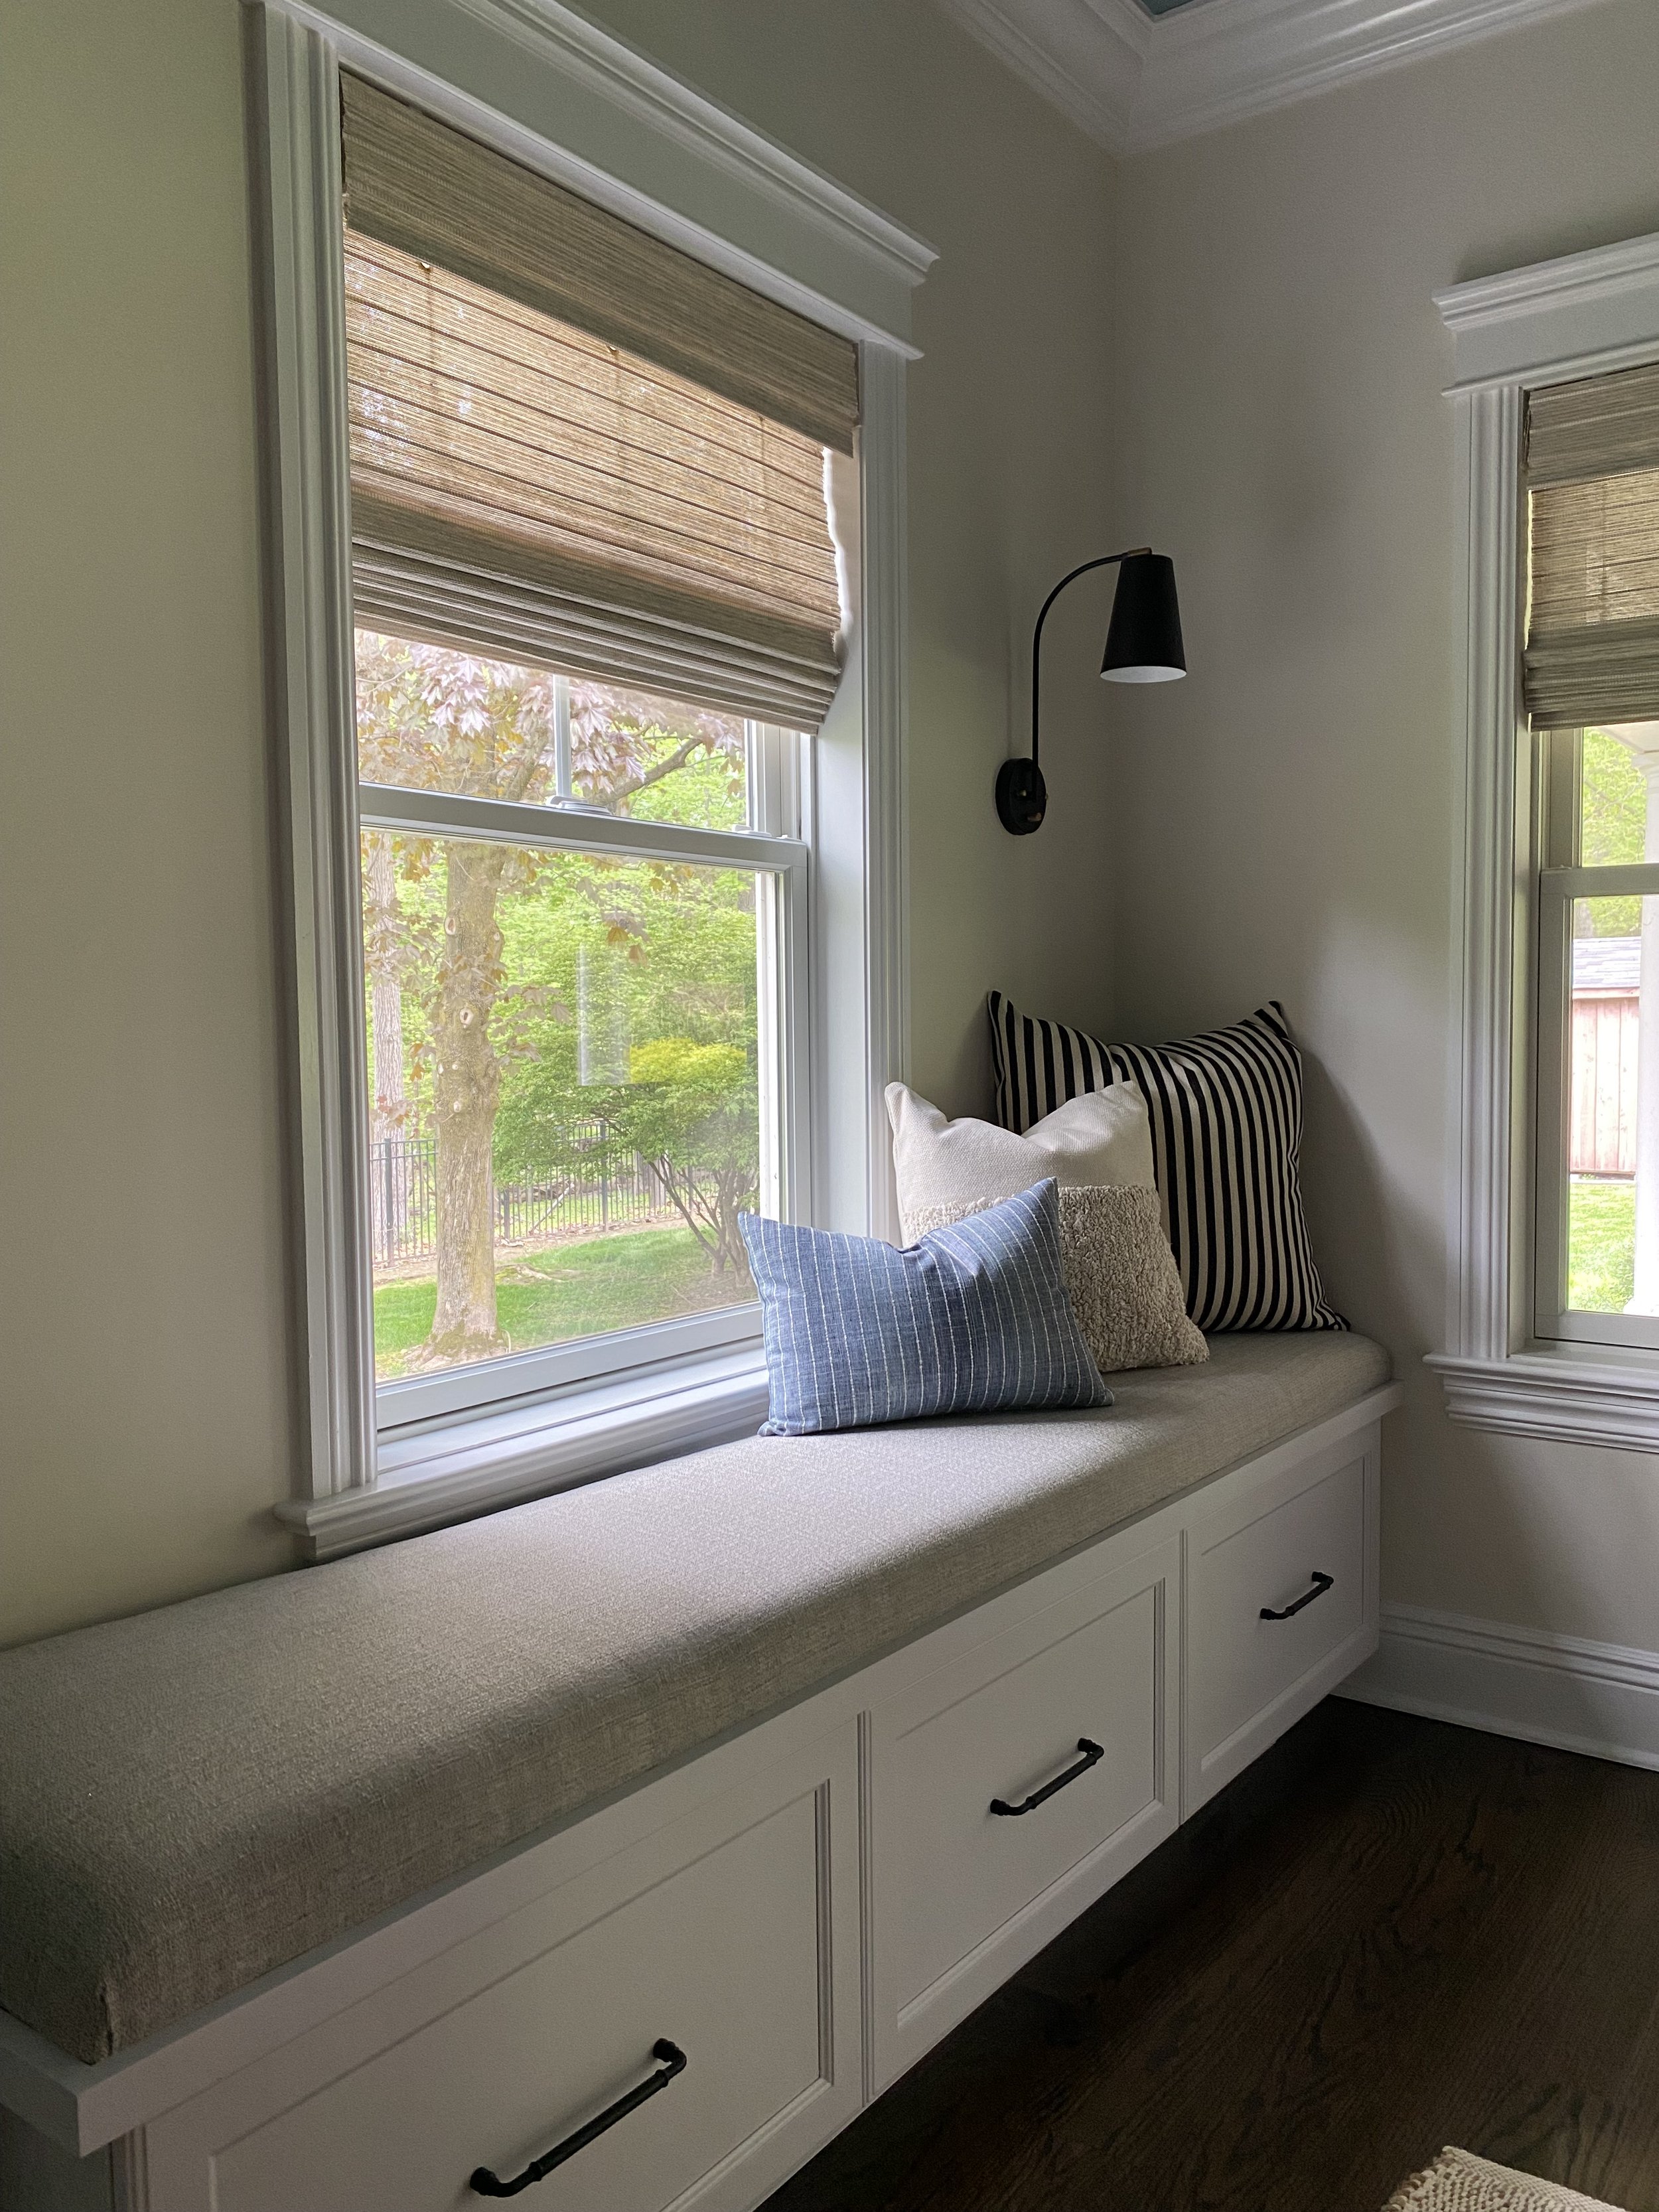
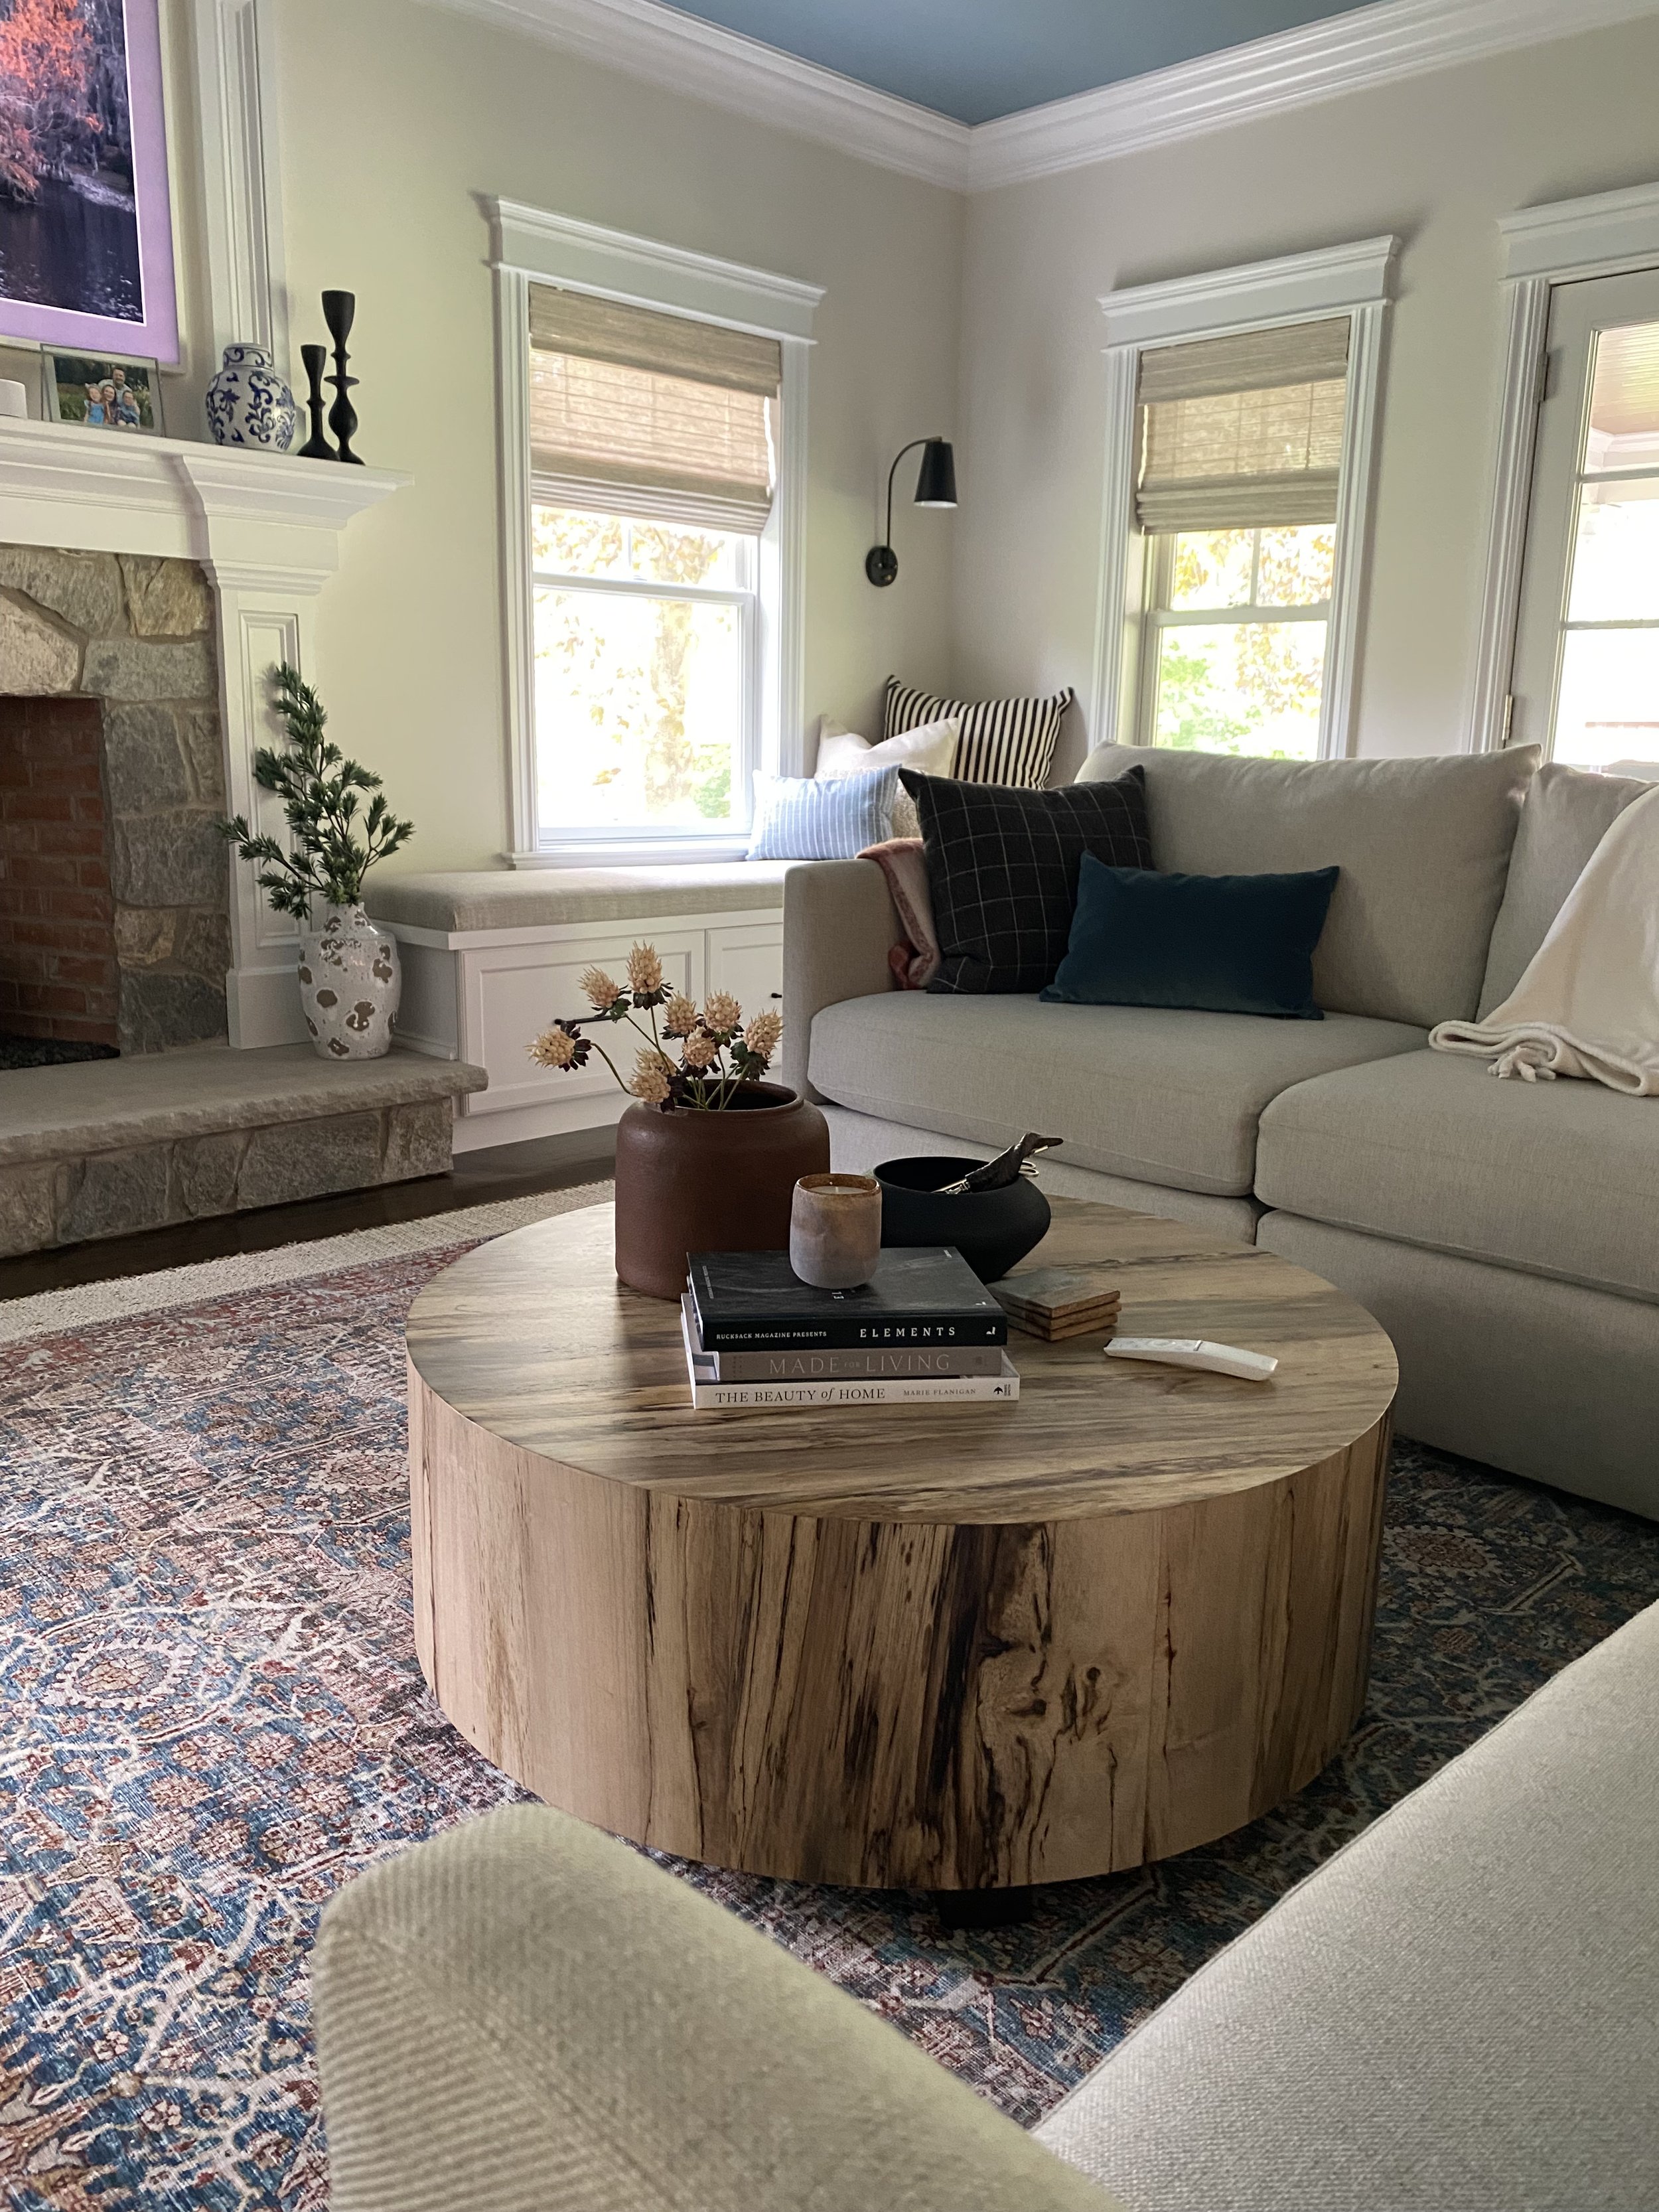
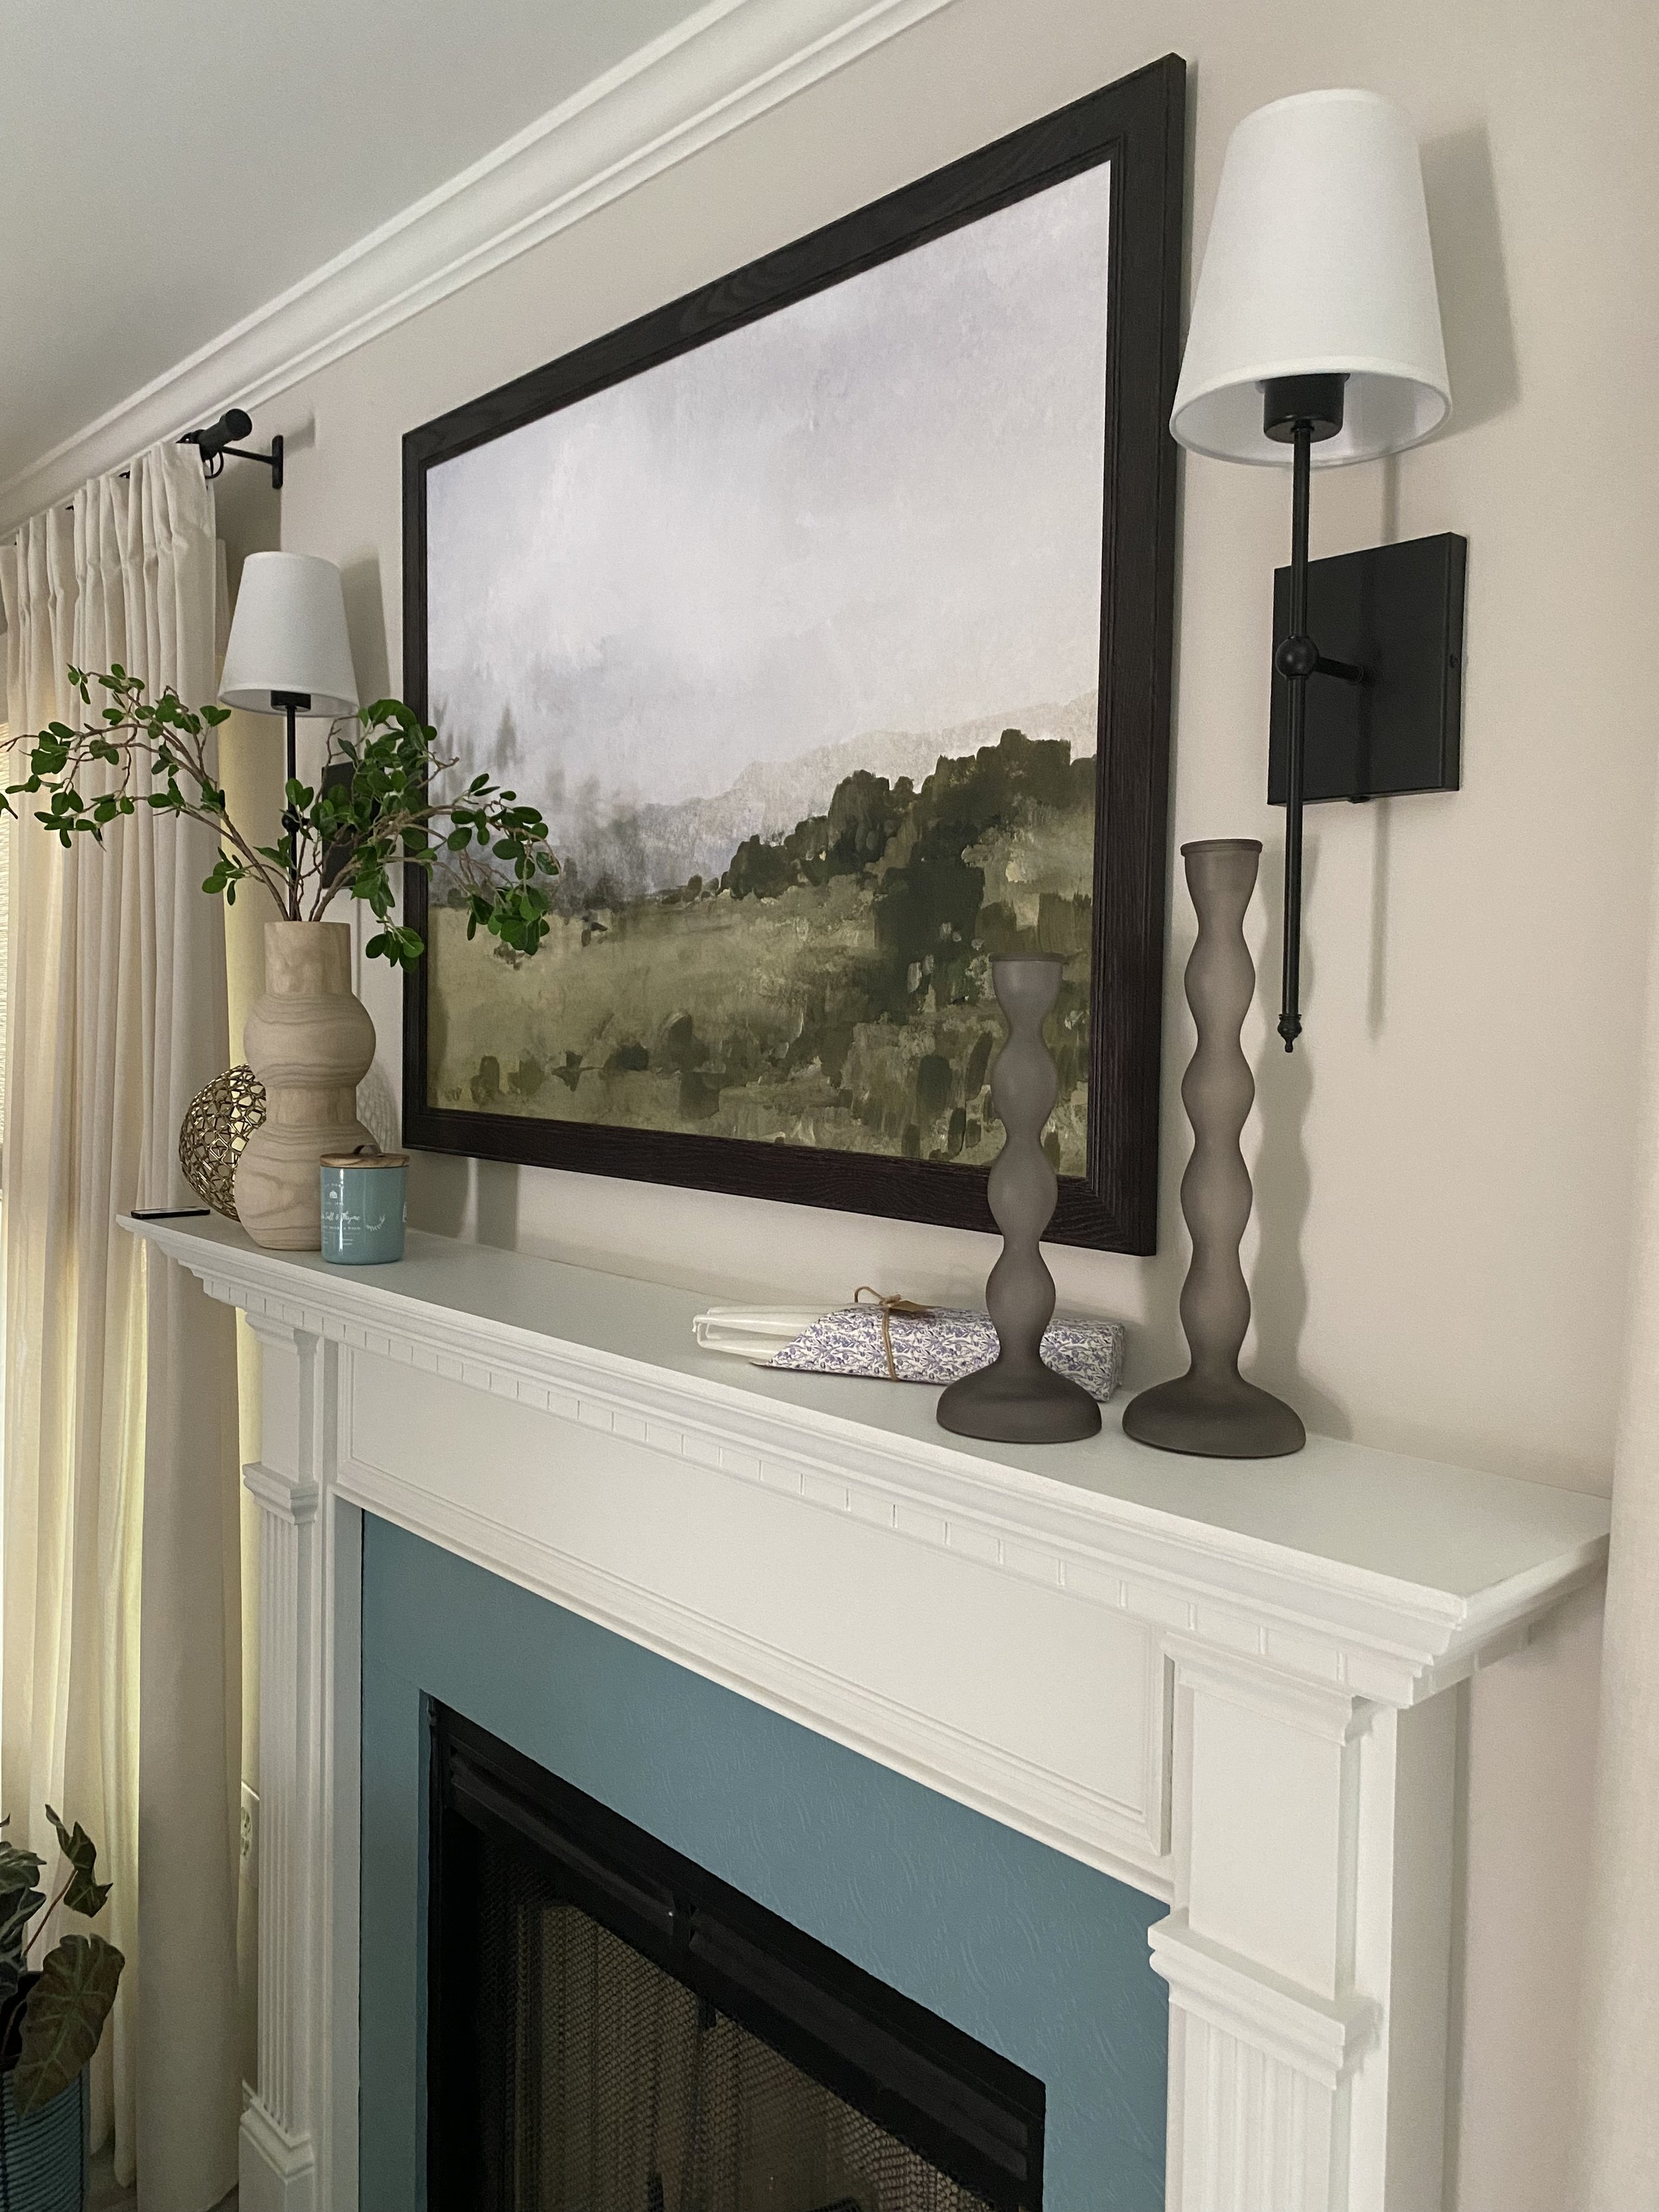
Simple Modern
these are a great option because a cord comes with that can be easily added or removed for plugging in. Here, we didn’t want any wires detracting from this beautiful window seat moment we created, so the no-electric hack worked perfectly!
In Summary:
Find the sconce or fixture that fits your style (like one of THESE)
Get the right amount of THESE bulbs (ensure the size works)
Attach the fixture to the wall
Charge and screw in the bulb
Use your remote to turn it on, dim, or just love the look while it’s off ✨
So what do you think? Something you’d give a whirl?